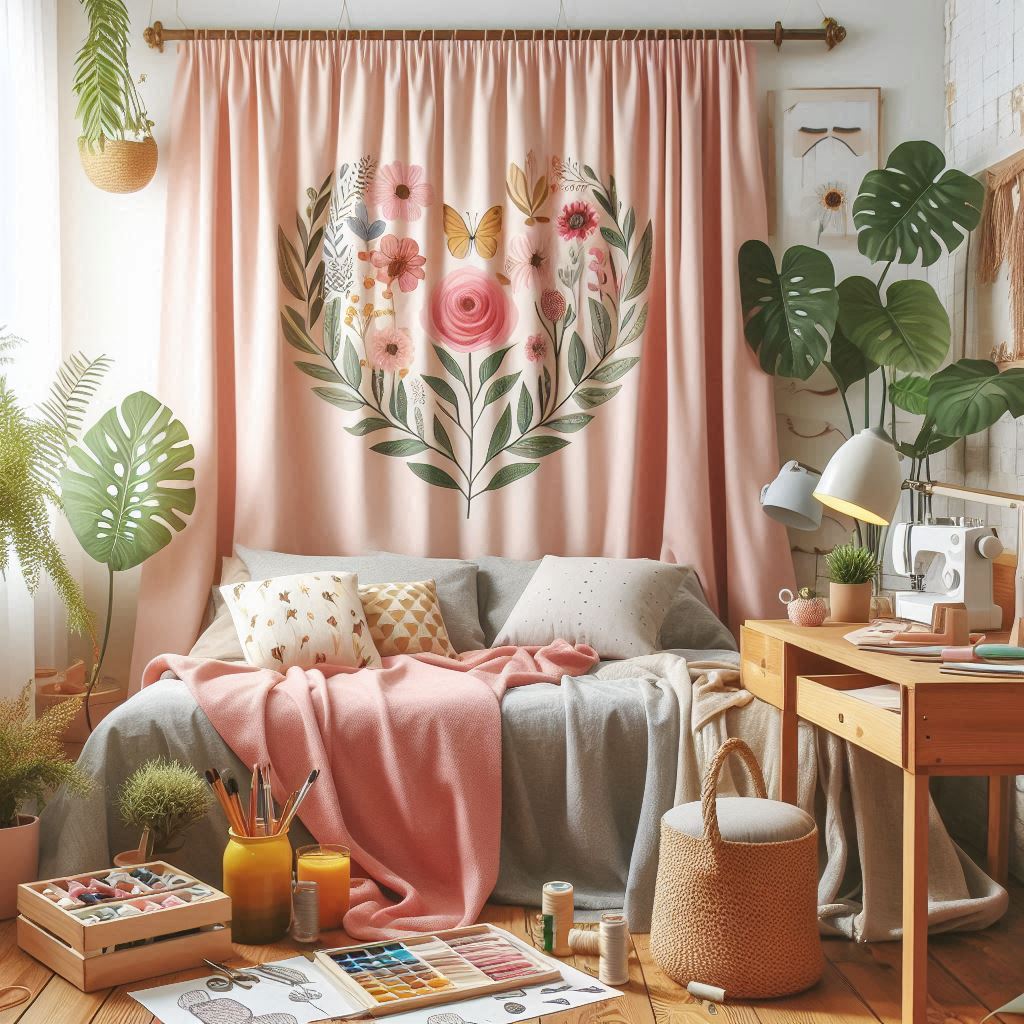
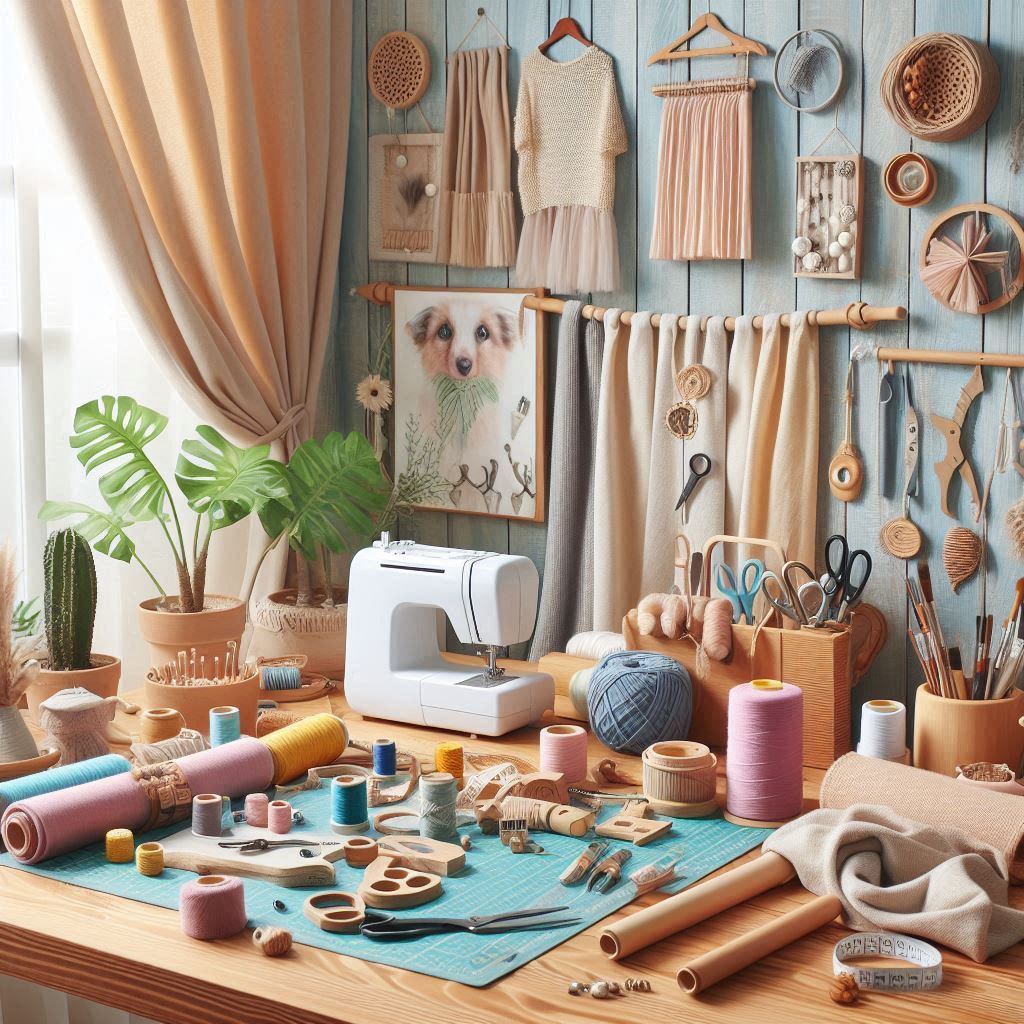
Are you looking to spruce up your living space without breaking the bank? DIY no-sew curtains might just be the perfect solution for you! These quick and easy projects are ideal for beginners who want to add a personal touch to their home decor without the need for a sewing machine. With a few simple materials and some creativity, you can transform your windows and enhance the ambiance of any room. Let’s dive into the world of no-sew curtains and discover how you can create beautiful, custom window treatments with minimal effort.
Why Choose No-Sew Curtains?
Beginner-Friendly
No-sew curtains are a fantastic option for those who are new to DIY projects or simply don’t have access to a sewing machine. The process involves using alternative methods such as fabric glue, hemming tape, or even safety pins, which are easy to handle and require no special skills. This makes no-sew curtains an excellent starting point for novice crafters.
Budget-Friendly
One of the main advantages of no-sew curtains is their cost-effectiveness. Traditional curtains can be expensive, especially if you opt for custom designs. No-sew curtains, on the other hand, allow you to create beautiful window treatments at a fraction of the cost. By using affordable materials and simple techniques, you can achieve a high-end look without straining your wallet.
Customizable
With no-sew curtains, you have complete control over the design and style. You can choose the fabric, color, and pattern that best complement your home decor. This level of customization allows you to create unique window treatments that reflect your personal taste and style.

Selecting the Right Fabric
Lightweight Materials
When choosing fabric for your no-sew curtains, opt for lightweight materials such as cotton, linen, or polyester. These fabrics are easy to work with and drape beautifully. Avoid heavy fabrics like velvet or thick brocade, as they can be challenging to manipulate without sewing.
Color and Pattern
The fabric you choose will play a significant role in the overall look and feel of your curtains. Consider the color scheme and decor of the room where the curtains will be hung. Neutral colors like white, beige, or gray can create a calm and sophisticated ambiance, while bold patterns and vibrant colors can add a pop of excitement and personality.
Texture
Texture is another important aspect to consider. Smooth fabrics like satin or silk can add a touch of elegance, while textured fabrics like burlap or lace can create a rustic or bohemian vibe. Think about the mood you want to set in the room and choose a fabric that complements that vision.
Measuring and Cutting
Accurate Measurements
Before you begin your project, be sure to measure your windows carefully to determine the appropriate length and width for your curtains. Use a measuring tape to measure the height from the curtain rod to the desired length of your curtains. For the width, measure the window and add extra fabric to ensure full coverage and a gathered look when the curtains are drawn.
Cutting the Fabric
Once you have your measurements, use a sharp pair of fabric scissors to cut your fabric to size. It’s always better to cut your fabric slightly larger than needed, as you can always trim it down later. Make sure to cut straight lines for a professional finish. If you’re working with patterned fabric, pay attention to the pattern alignment when cutting multiple panels.
Assembly and Hanging
Creating Hems
Now comes the fun part – assembling your curtains! To create clean, polished hems, use fabric glue, hemming tape, or iron-on adhesive. Here’s a step-by-step guide:
- Fold the Edges: Lay the fabric flat and fold the edges over by about half an inch to create a hem. For a thicker hem, fold over again.
- Apply Adhesive: Place fabric glue or hemming tape between the folded edges. If using iron-on adhesive, follow the manufacturer’s instructions to heat-seal the hems.
- Press the Hems: Smooth the folded edges with your hands or an iron to ensure the adhesive bonds well.
Hanging the Curtains
Once your hems are in place, it’s time to hang your curtains. There are several options for displaying your DIY curtains:
- Curtain Rods: The most common method is to use curtain rods. Slide the curtain panels onto the rod through the top hem or use curtain rings with clips for easy hanging and removal.
- Tension Rods: Tension rods are great for lightweight curtains and can be easily adjusted to fit different window sizes. They are ideal for rental properties where you may not want to install permanent fixtures.
- Adhesive Hooks: For a no-drill solution, use adhesive hooks. These hooks stick to the wall and can hold lightweight curtains. Simply clip the curtains to the hooks for a hassle-free hanging option.
Maintenance and Care
Regular Cleaning
To ensure that your DIY curtains stand the test of time, be sure to follow the care instructions for your chosen fabric. Regular cleaning will keep them looking fresh and vibrant. Here are some tips:
- Machine Washable Fabrics: If your curtains are machine washable, remove them from the rods and wash them on a gentle cycle with mild detergent. Avoid using bleach, as it can damage the fabric.
- Delicate Fabrics: For delicate fabrics, spot cleaning or gentle hand washing is the best option. Use a mild detergent and cold water, and avoid wringing out the fabric to prevent stretching.
- Drying: Air-dry your curtains to avoid shrinkage. If using a dryer, select a low-heat setting and remove the curtains while slightly damp to prevent wrinkles.
Ironing and Steaming
If your curtains become wrinkled, ironing or steaming can help restore their smooth appearance. Use a low-heat setting on your iron for delicate fabrics and always test a small area first. Alternatively, use a garment steamer to gently remove wrinkles without direct contact.
Seasonal Care
Consider rotating your curtains seasonally to extend their life. For example, use lighter fabrics in the summer to allow more light and air into your home, and switch to heavier fabrics in the winter for added insulation and warmth.

Conclusion
DIY no-sew curtains are a fantastic way to add a personal touch to your home decor without the need for a sewing machine. By selecting the right fabric, measuring carefully, and assembling with care, you can create beautiful curtains that will enhance any room in your home. The process is straightforward, cost-effective, and allows for endless customization.
Recap of Key Points
- Choose Lightweight Fabrics: Opt for materials like cotton or linen for easy handling.
- Measure Accurately: Ensure your curtains fit perfectly by taking precise measurements.
- Create Clean Hems: Use fabric glue, hemming tape, or iron-on adhesive for polished edges.
- Hang with Ease: Select the best hanging method for your space, whether it’s curtain rods, tension rods, or adhesive hooks.
- Maintain Regularly: Keep your curtains looking fresh with proper cleaning and care.
By following these tips, you can enjoy the satisfaction of creating your own custom window treatments that reflect your style and personality. So why wait? Get started on your DIY curtain project today and see the transformation for yourself!


