Are you ready to elevate your interior design game with sleek blinds that not only enhance your space but also provide privacy and light control? Installing blinds may seem like a daunting task, but with the right guidance, you can tackle this project like a pro. In this comprehensive guide, we will walk you through each step of the installation process, empowering you to transform your windows with confidence. Whether you’re updating your living room, bedroom, or office, mastering blind installation can significantly enhance both the aesthetics and functionality of your space.
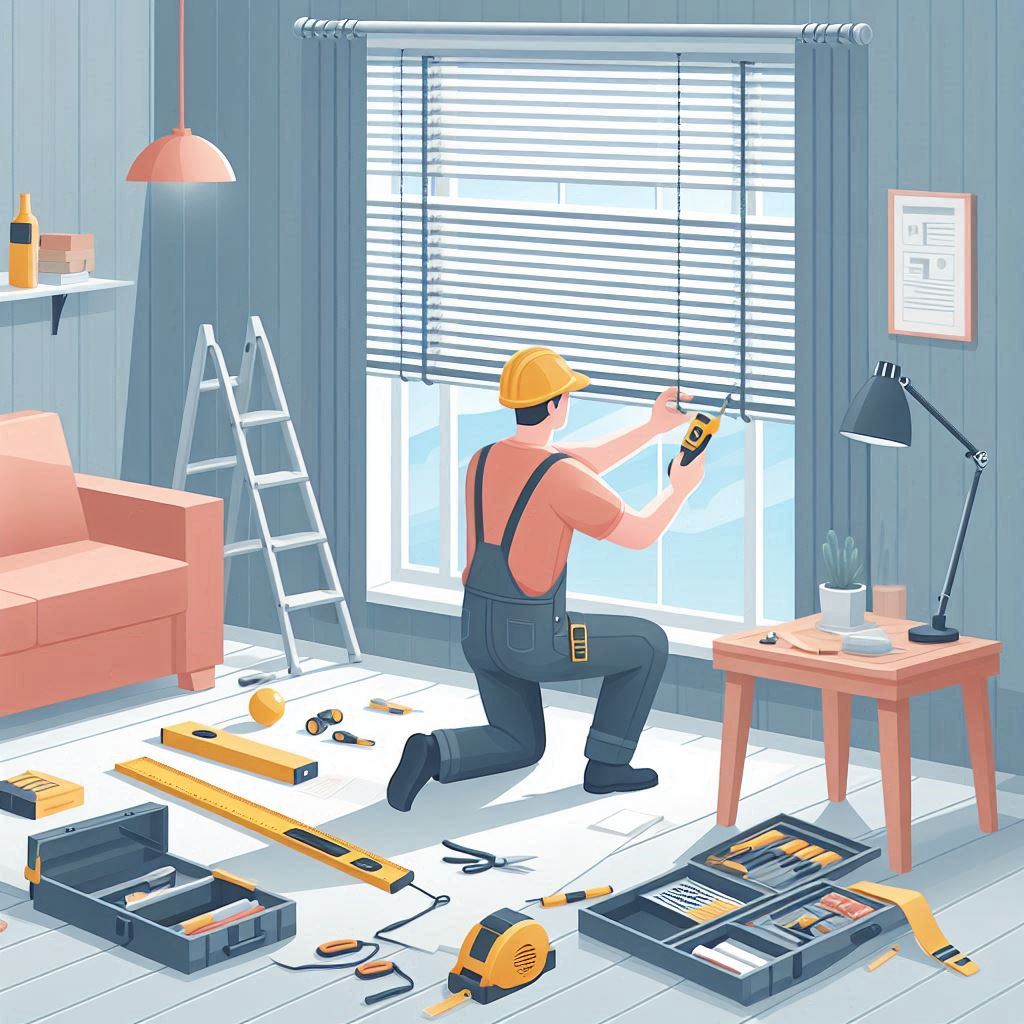
Gathering Your Tools and Materials
Before diving into the installation process, it’s essential to gather all the necessary tools and materials. Having everything on hand will streamline the process and help you avoid any unnecessary interruptions. Here’s what you’ll need:
- Blinds (customized to fit your window)
- Mounting brackets
- Screws
- Screwdriver or power drill
- Level
- Measuring tape
- Pencil or marker
- Step ladder
- Safety goggles
Each of these items plays a crucial role in ensuring a smooth and successful installation.

Step 1: Measuring Your Window
The first step to a successful blind installation is accurate measurement. This step is critical because it ensures that your blinds will fit perfectly and function correctly. Here’s how to measure your windows accurately:
- Measure the Width: Use a measuring tape to measure the width of the window frame at three points – the top, middle, and bottom. Record the narrowest measurement, as this will ensure the blinds fit within the frame without obstruction.
- Measure the Height: Measure the height of the window frame from top to bottom at three points – the left, middle, and right. Again, record the shortest measurement.
- Depth Check: Ensure your window frame has enough depth to accommodate the mounting brackets and blinds.
Remember the old adage, “measure twice, cut once.” Double-check your measurements to avoid any mistakes that could result in ill-fitting blinds.
Step 2: Mounting the Brackets
With your measurements in hand, the next step is to mount the brackets. The mounting brackets are the foundation for your blinds, so it’s essential to position them correctly. Follow these steps:
- Mark the Position: Hold the brackets up to the top corners of your window frame. Use a pencil or marker to mark the screw holes.
- Pre-drill Holes: If you’re mounting the brackets on a wooden frame, pre-drilling small holes can make it easier to insert the screws and reduce the risk of splitting the wood.
- Secure the Brackets: Using a screwdriver or power drill, secure the brackets to the window frame. Ensure they are leveled before fully tightening the screws. Use a level to check alignment. This precision will ensure your blinds operate smoothly.
Step 3: Attaching the Blinds
Now that the brackets are securely in place, it’s time to attach the blinds. This step requires careful handling to ensure the blinds are properly secured.
- Position the Blinds: Hold the headrail (the top part of the blinds) up to the mounting brackets. Align the headrail with the brackets.
- Secure the Blinds: Carefully slide the blinds into the mounting brackets until they click into place. Ensure they are securely fastened to prevent any mishaps down the line.
- Test the Blinds: Raise and lower the blinds to ensure smooth functionality. This step ensures that everything is aligned and working correctly.
Step 4: Adjusting the Length
If your blinds are too long for your window, you may need to trim them to the appropriate length. Adjusting the length ensures that your blinds look neat and function properly.
- Measure the Excess Length: With the blinds fully extended, measure the excess length that needs to be trimmed.
- Mark the Cutting Line: Use a pencil or marker to mark the cutting line on each slat that needs to be shortened.
- Trim the Blinds: Carefully cut the excess slats with a sharp pair of scissors or a utility knife. If your blinds have a bottom rail, you’ll need to cut it to size as well. Remove any excess cord and reattach the bottom rail and end caps.
Step 5: Final Touches
With your blinds securely in place and adjusted to the correct length, it’s time to add the finishing touches. These final steps will ensure your blinds are perfectly aligned and functioning optimally.
- Secure the Cord: If your blinds have a cord, secure it with a cord cleat or cord tensioner to keep it out of reach of children and pets, enhancing safety.
- Attach Valances or Decorative Elements: Some blinds come with valances or other decorative elements. Attach these according to the manufacturer’s instructions to give your blinds a polished look.
- Clean Up: Remove any debris or packaging materials from the installation area. Give your blinds a gentle wipe down to remove any fingerprints or dust.
Conclusion
Congratulations on mastering the art of blind installation! By following this step-by-step guide, you have successfully transformed your windows and added a touch of elegance to your home. Embrace the sense of accomplishment that comes with DIY projects, and enjoy the enhanced aesthetic and functionality that blinds bring to your living space.
Installing blinds may initially seem intimidating, but with careful preparation and attention to detail, you can achieve professional results. Not only have you saved money by doing it yourself, but you’ve also gained valuable skills and the satisfaction of enhancing your home with your own hands.